
How to Apply Kinesiology Tape for Jumper’s Knee (Patellar Tendinitis)
Jumper’s knee, also called patellar tendinitis, causes pain around the patellar tendon, usually just below the kneecap. It is common in athletes who repeatedly jump, land, run, or squat. Kinesiology tape for jumper’s knee may provide temporary support and additional sensory feedback during movement. It can be useful before training or competition, but it does not repair the tendon or replace rehabilitation. This guide shows how to apply kinesiology tape for jumper’s knee, where to place each strip, how much tension to use, and what to do if the tape causes discomfort.
-and-one-Y-strip-for-jumper-knee-.jpg?w=1024&h=687)
What You’ll Need
Before applying kinesiology tape for jumper’s knee, prepare:
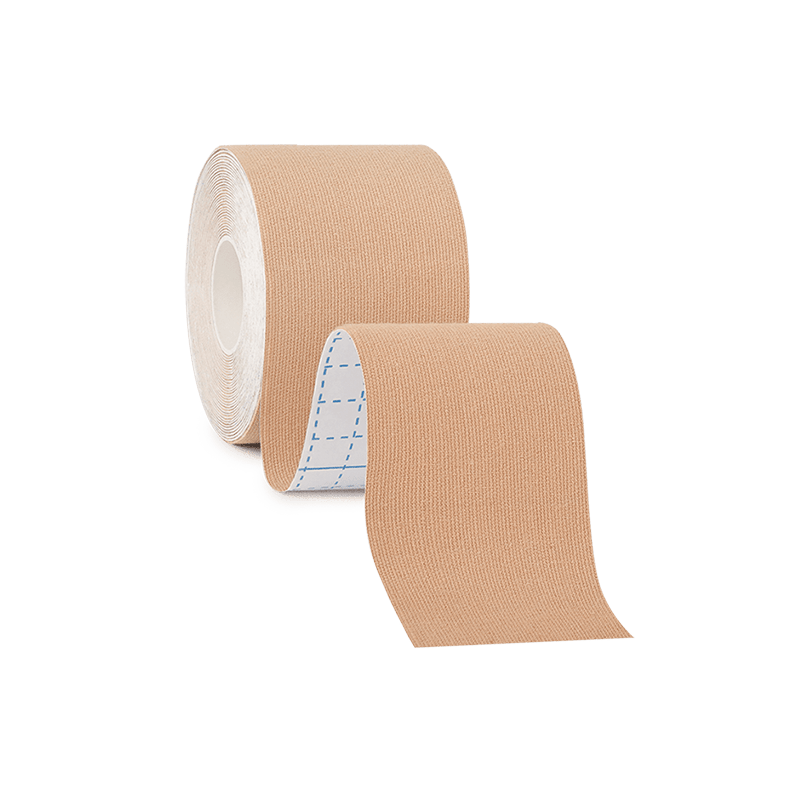
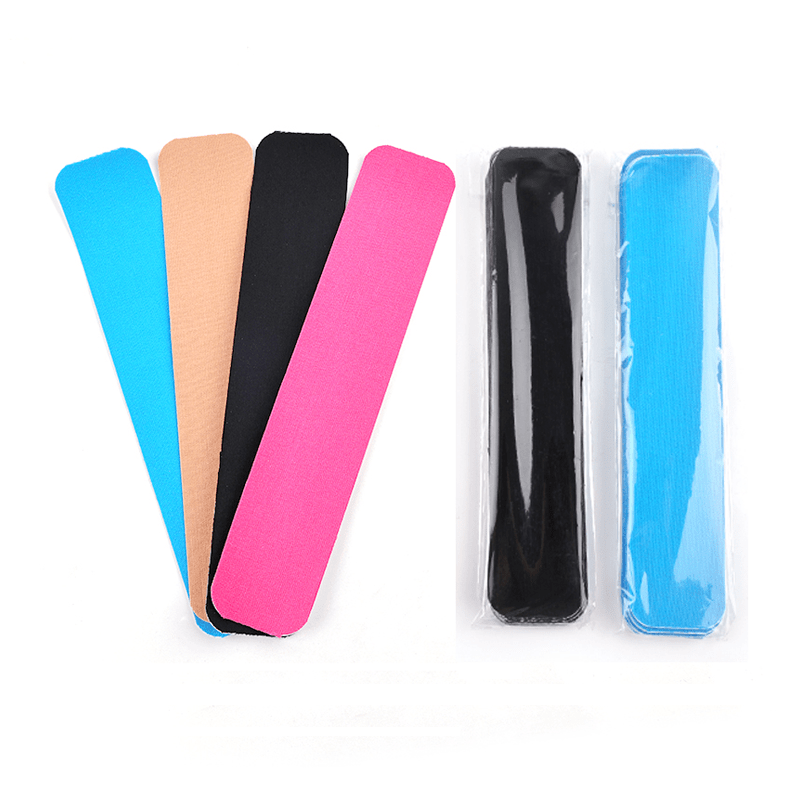
- Two I-shaped kinesiology tape strips (approximately 20 cm long) and one Y-strip.
- Sharp scissors
- Clean, dry skin
- An alcohol wipe if your skin is oily
If you have dense hair around the application area, trimming it can improve adhesion.
Do not apply kinesiology tape over cuts, open wounds, rashes, or irritated skin.
Please test on an inconspicuous area—such as the underarm or behind the ear—before use; proceed with widespread application only if no allergic reaction occurs.
Step-by-Step: How to Apply Kinesiology Tape for Jumper’s Knee
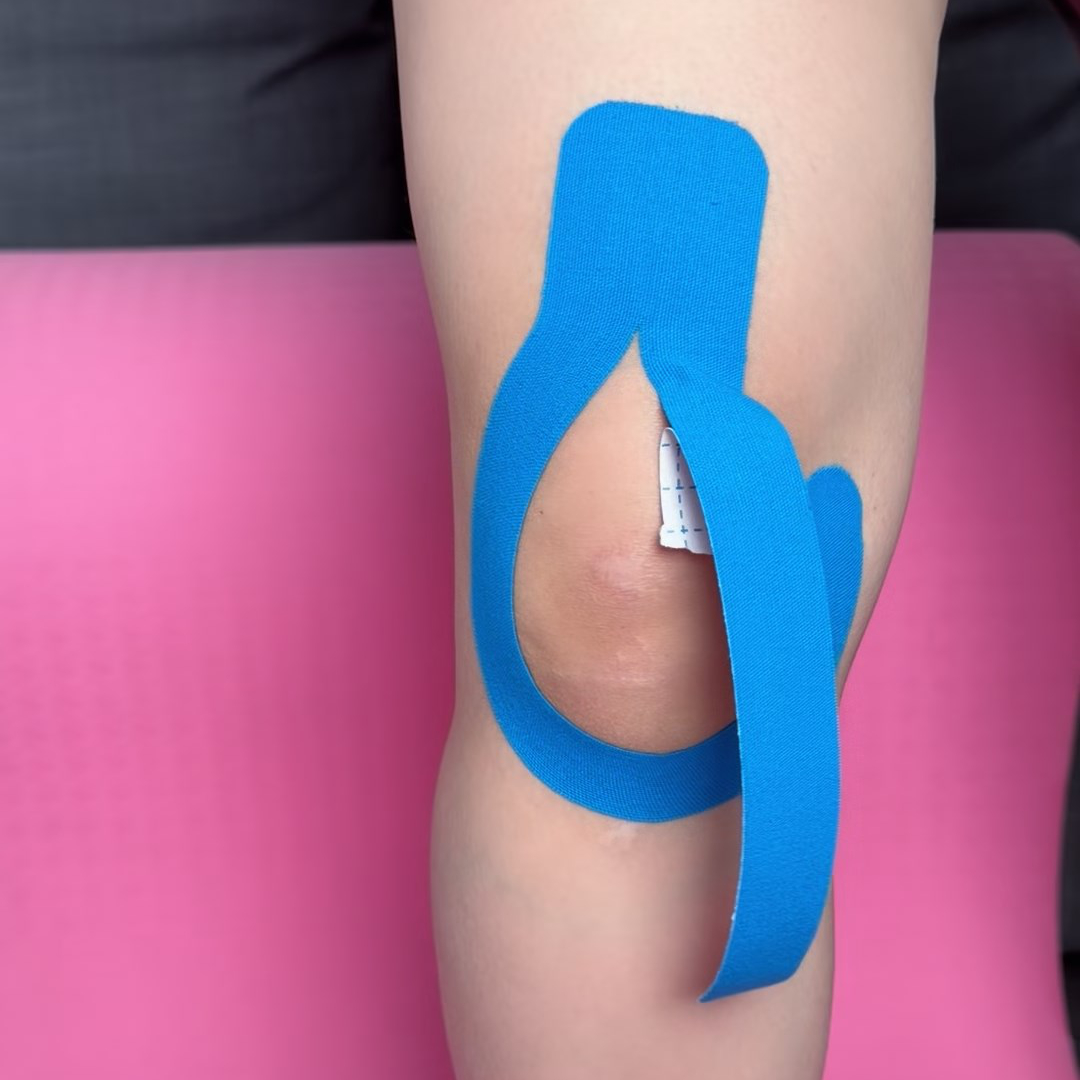
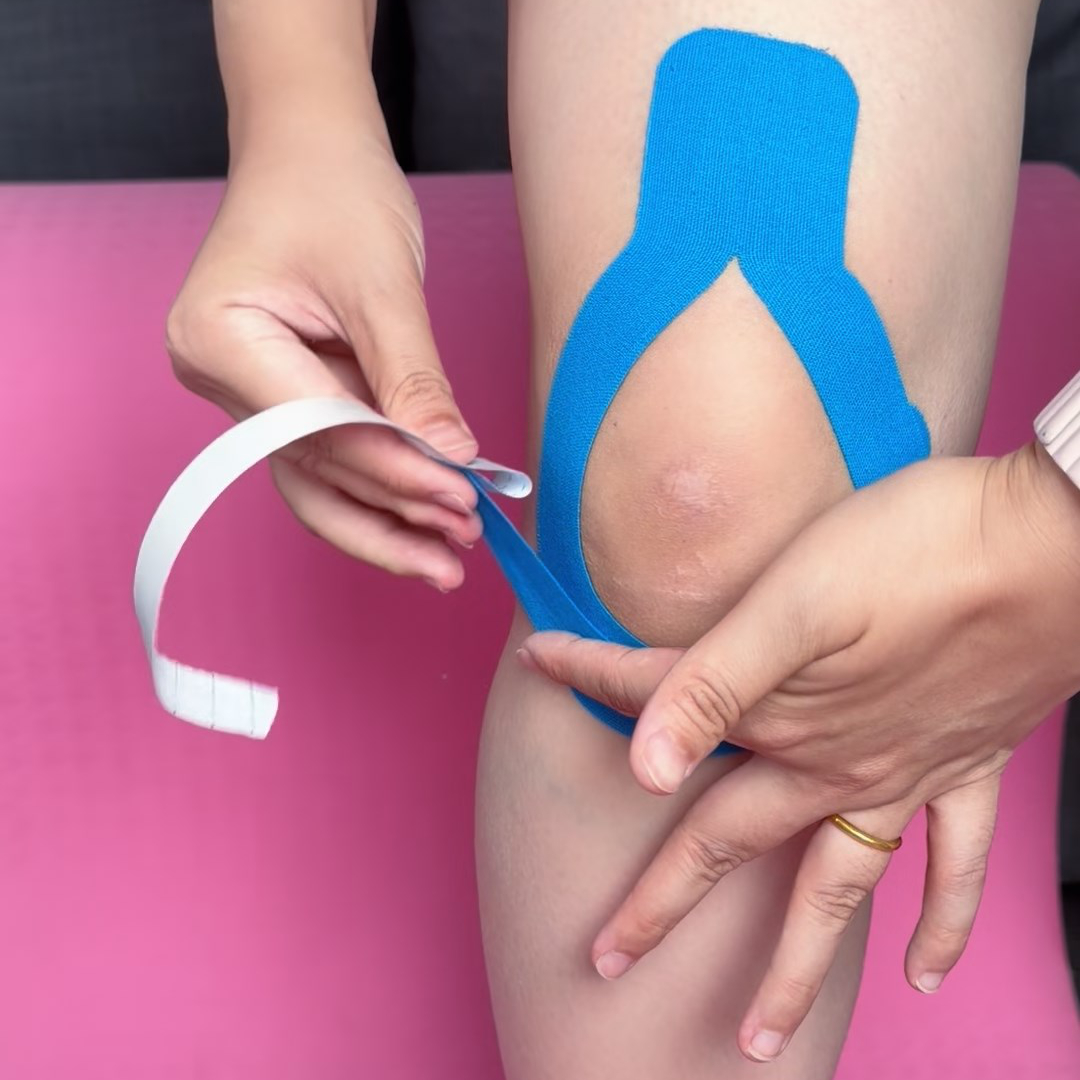
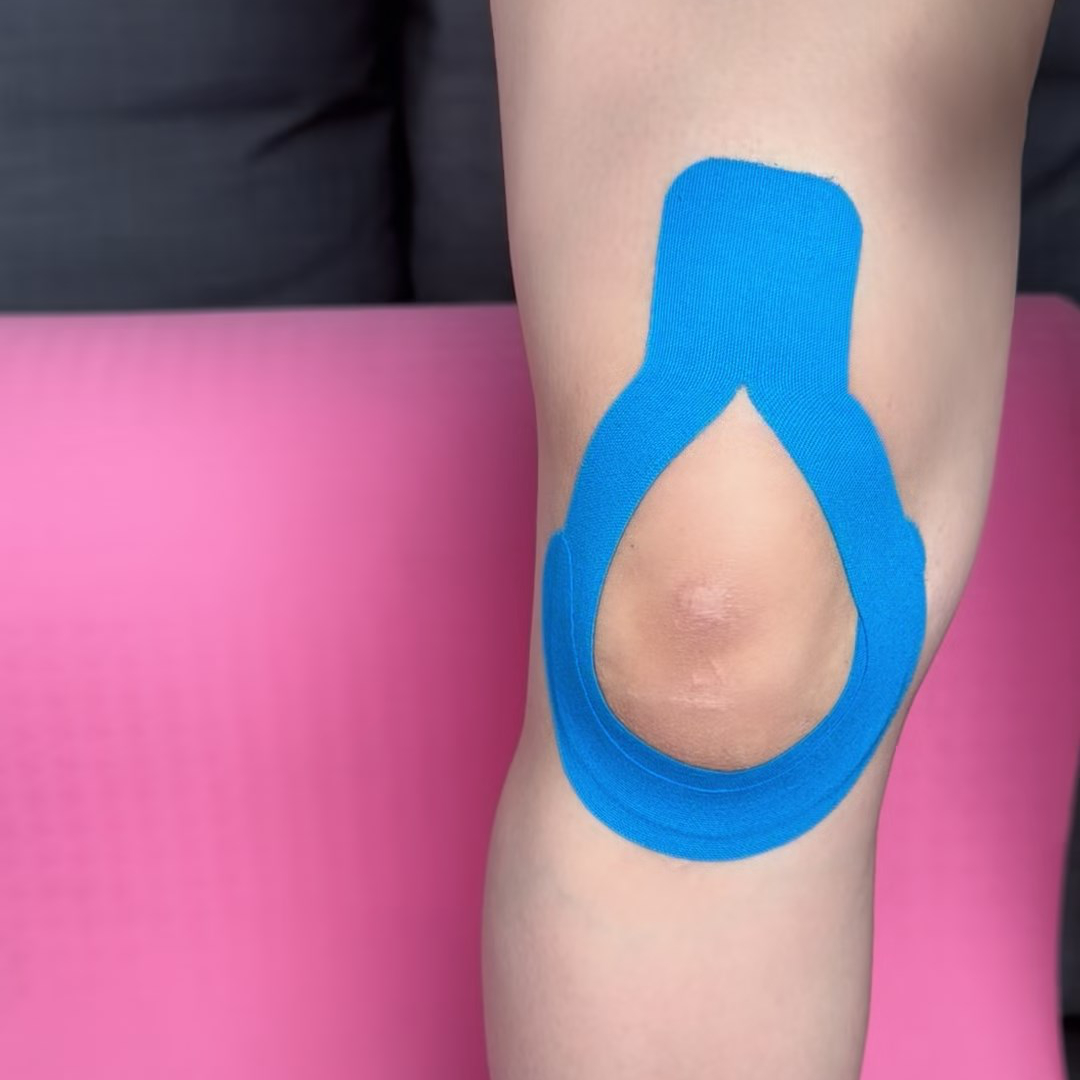
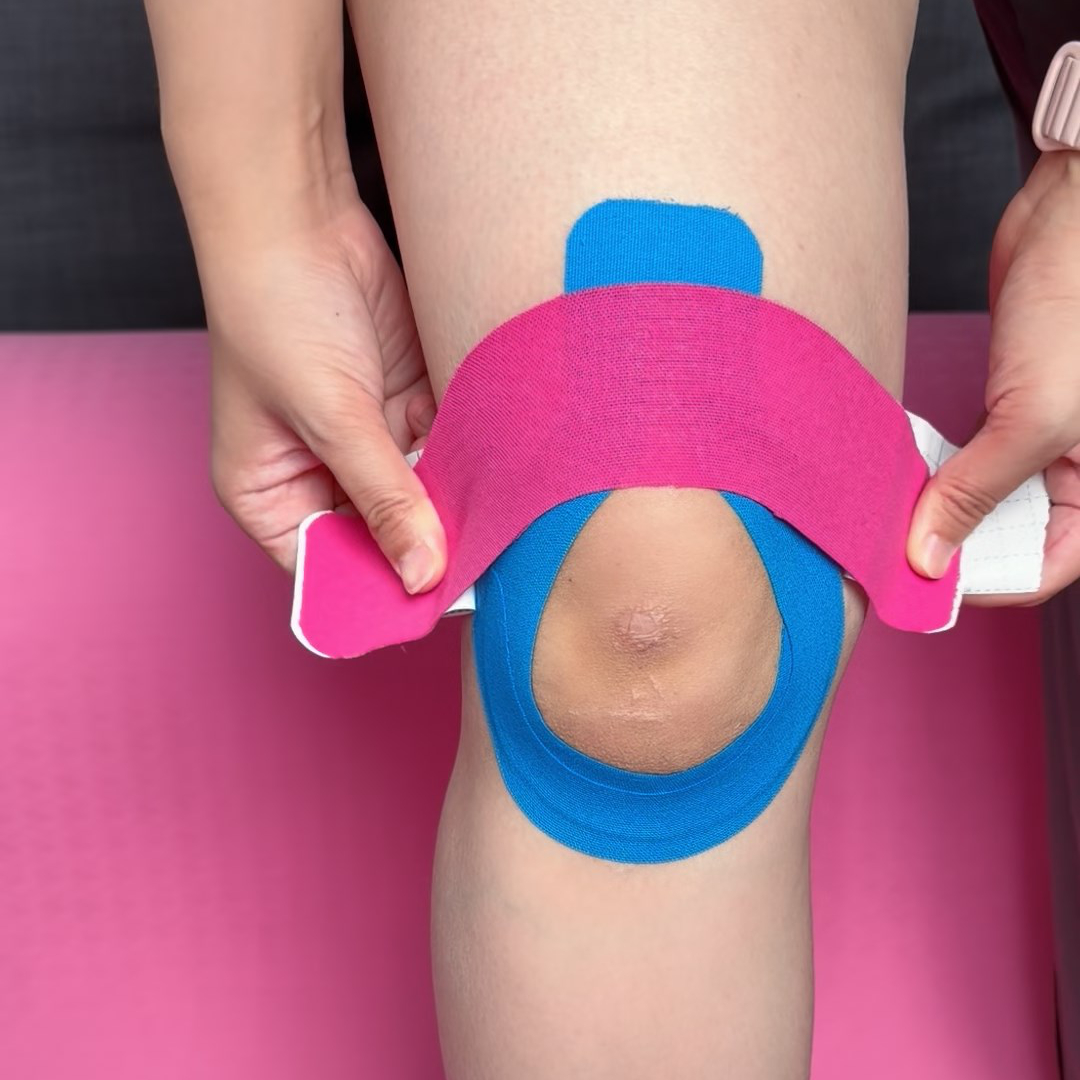
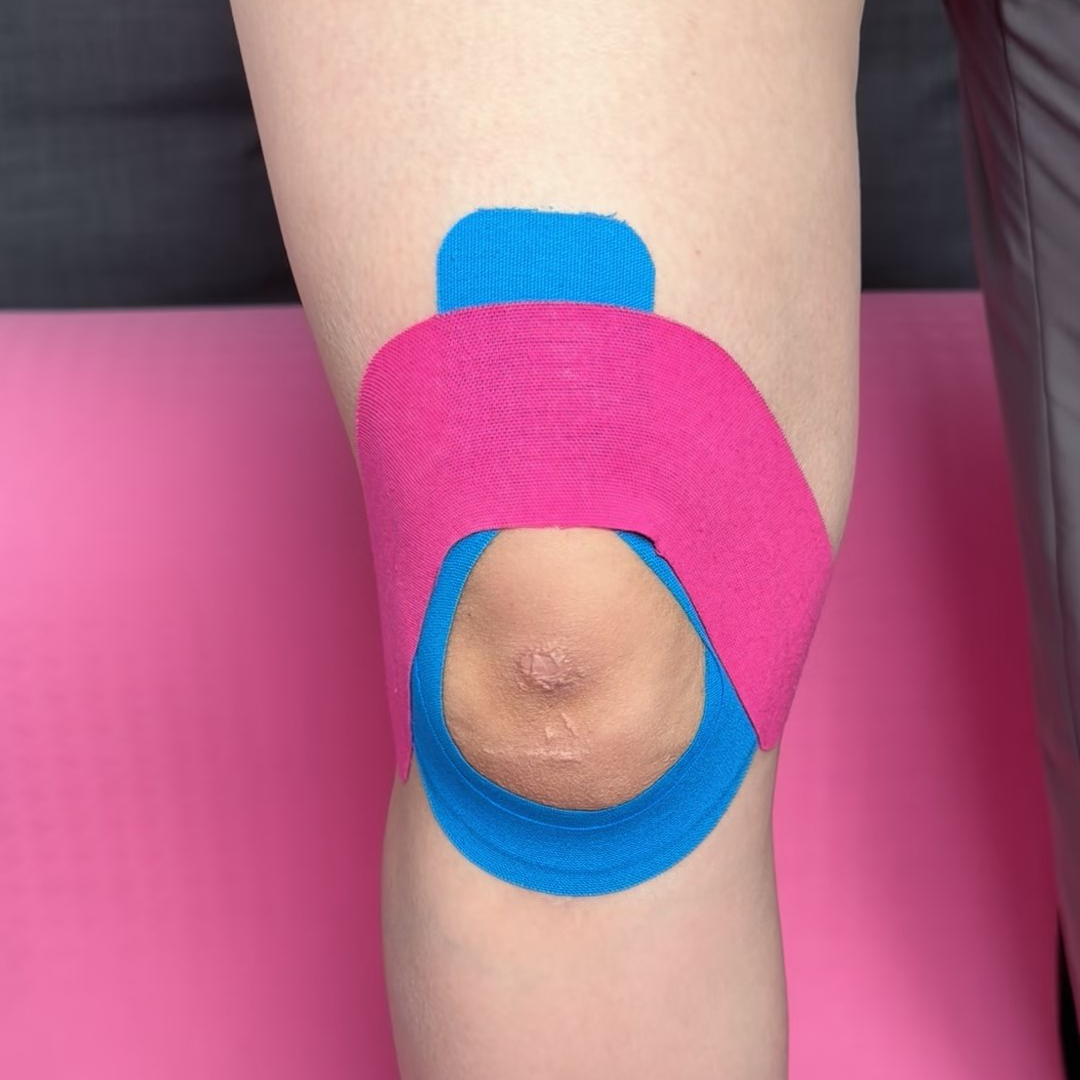
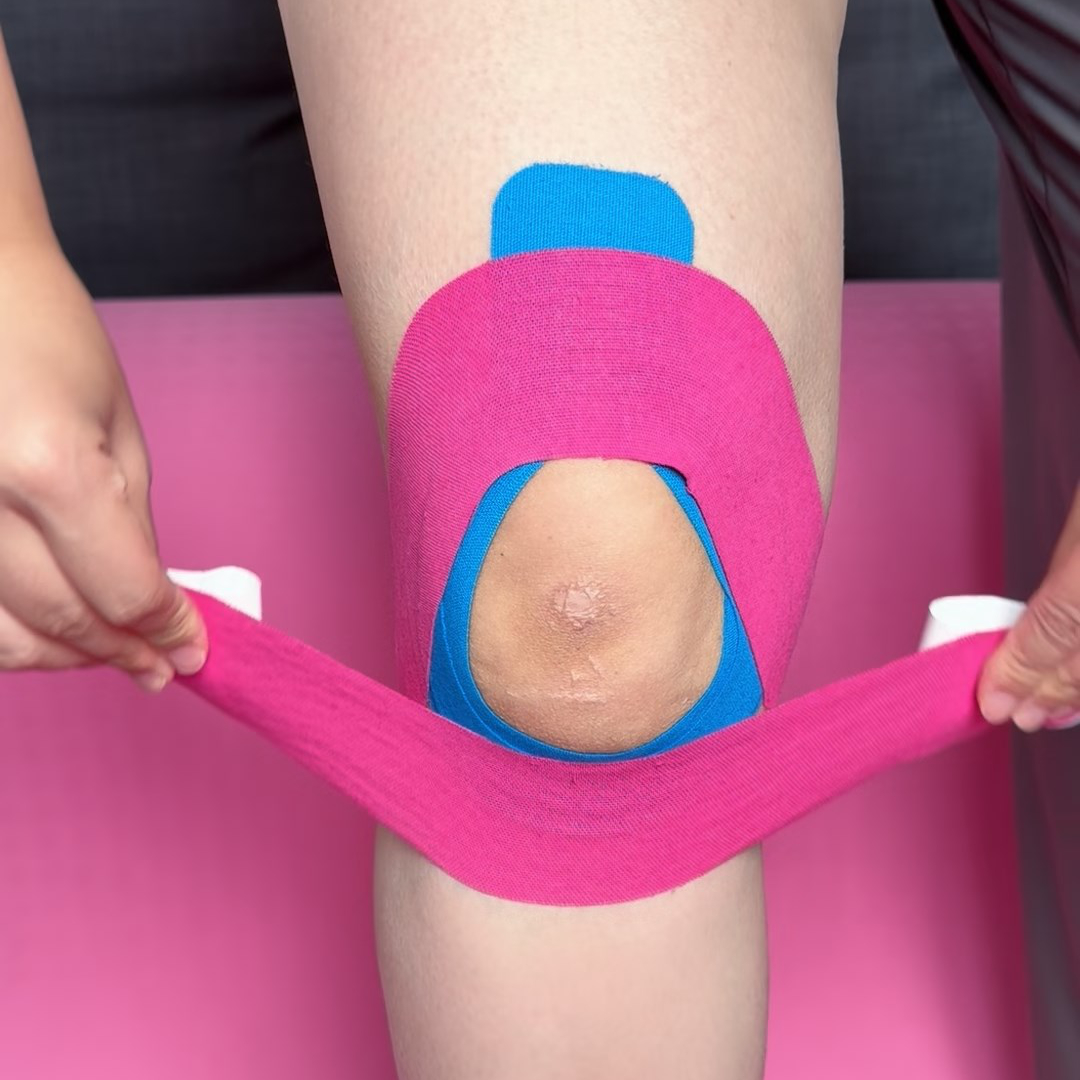
.jpg?w=1080&h=1080&q=100)
.jpg?w=768&h=576)
What Is Jumper’s Knee?
Jumper’s knee is a common overuse condition affecting the patellar tendon, which connects the bottom of the kneecap to the shinbone.
The tendon is repeatedly loaded when you:
- Jump and land
- Sprint
- Change direction
- Squat
- Climb stairs
- Perform repeated leg exercises
Pain is often felt at the front of the knee, particularly around the lower edge of the kneecap.
Symptoms can vary. Some people notice pain mainly after exercise, while others feel discomfort during jumping, squatting, or everyday activities.
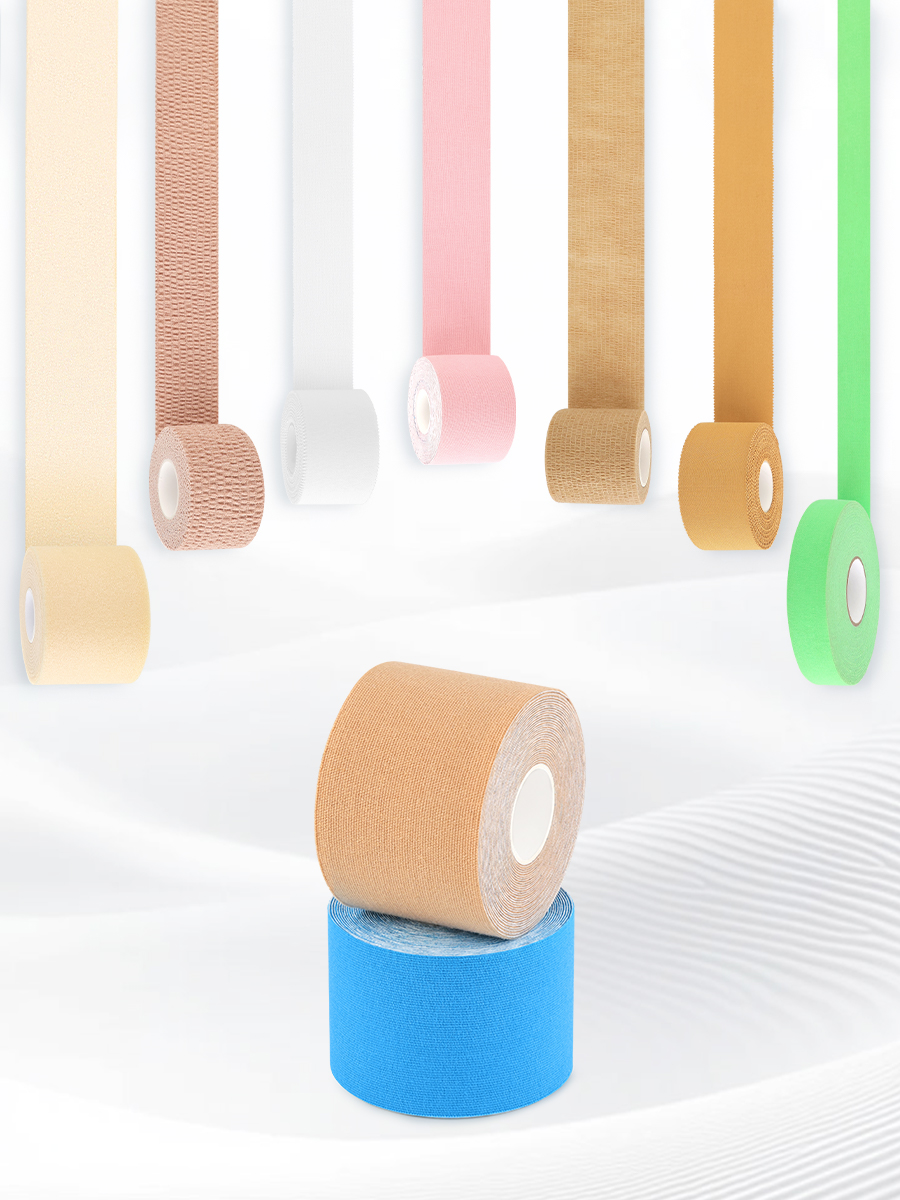
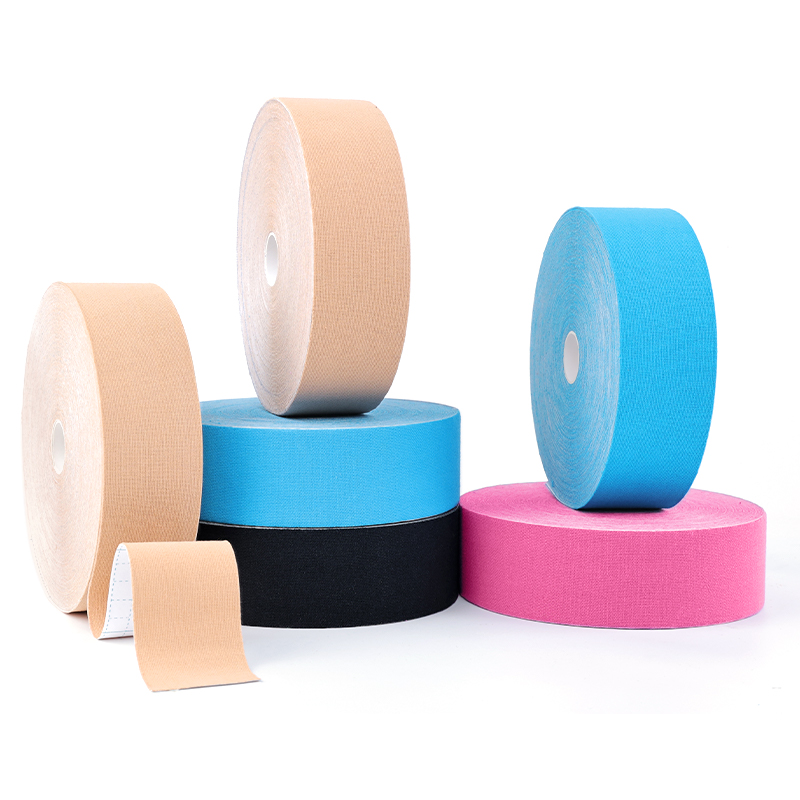
Kinesiology tape may help some people feel more comfortable or supported while moving. Its elastic material moves with the skin and provides additional sensory input around the taped area.
However, the effects vary between individuals, and taping should not be considered a cure for patellar tendinopathy.
If your knee keeps hurting after training, the solution is usually not simply more tape. Training load, recovery, and progressive strengthening are more important for improving the tendon’s ability to handle activity.
You can generally move normally while wearing kinesiology tape because it is designed to stretch with the skin.
Athletes may use it during:
- Basketball
- Volleyball
- Running
- Jump training
- Squats
- Gym workouts
- FootBall
- Rugby
But there is an important distinction:
Feeling better with tape does not mean the tendon can tolerate unlimited training.
If pain increases as you continue jumping or running, reduce the activity rather than relying on the tape to get you through the session.
How long the tape stays attached depends on the tape adhesive, your skin, sweating, activity, and exposure to water.
Many kinesiology tapes can remain in place for several days, but always follow the wearing instructions for your specific product.
Remove the tape if you notice:
- Persistent itching
- Burning or stinging
- Increasing redness
- Blistering
- Skin irritation
- Unusual pain
After showering, gently pat the tape dry instead of rubbing it.
To learn more details, please click: How Long to Wear Kinesiology Tape?
Do not pull the tape off quickly.
Instead:
- Loosen the tape with warm water or remove it after a shower.
- Hold the skin down with one hand.
- Slowly peel the tape back in the direction of hair growth.
- Stop if the skin becomes painful or irritated.
Stretching the Tape Ends
The anchors should generally be applied without tension. Stretching the ends can increase skin pulling and make irritation more likely.
Using Too Much Stretch
Pulling the tape as far as possible does not automatically provide better support.
A comfortable application with light or moderate tension is usually preferable to maximum stretch.
Applying Tape With the Knee Fully Straight
If the tape is applied with the knee completely extended, it may feel tighter when you bend the knee.
A slight knee bend makes it easier for the tape to move naturally with the joint.
Wrapping the Entire Knee
Kinesiology tape should not be used like a tight compression bandage.
Avoid creating a restrictive ring around the knee. The back of the knee should remain unobstructed.
Using Tape to Ignore Pain
This is probably the most serious mistake to avoid.
If the tape makes your knee feel better but the pain returns or worsens after training, don't simply increase the amount of tape.
Look at the training load, recovery, and strength program instead.
Remove the tape immediately if you develop any of the following:
- Itching
- Redness
- Blistering
- Skin irritation
- Pain caused by the tape
You should also seek professional assessment if you have severe or worsening knee pain, significant swelling, difficulty walking, a sudden injury, or persistent symptoms that interfere with normal activity.
Not every case of front-of-knee pain is patellar tendinopathy, so persistent symptoms should be properly assessed.
How to Apply for Knee Pain in Other Areas
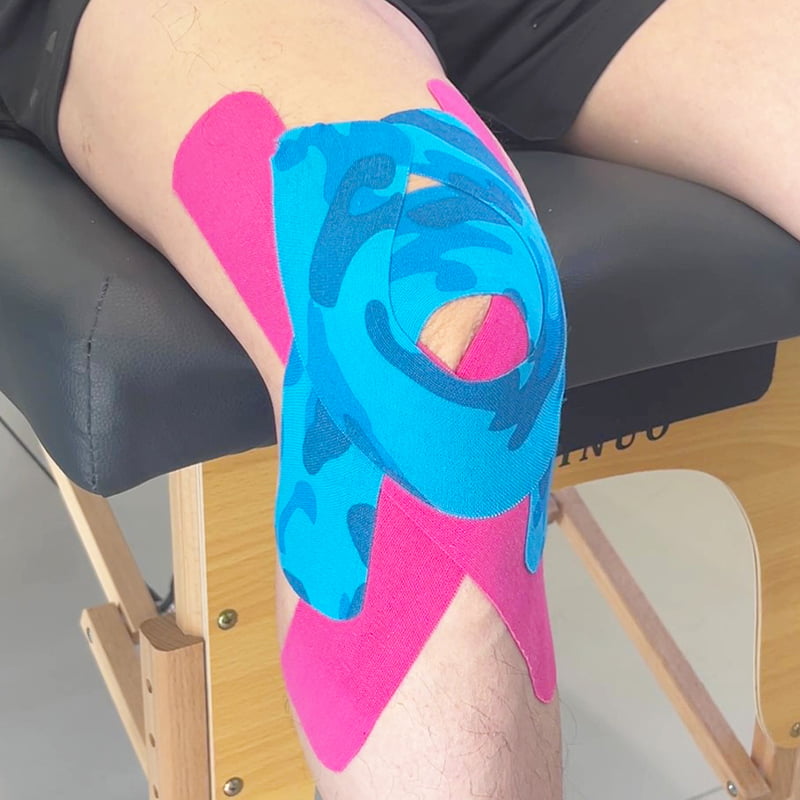
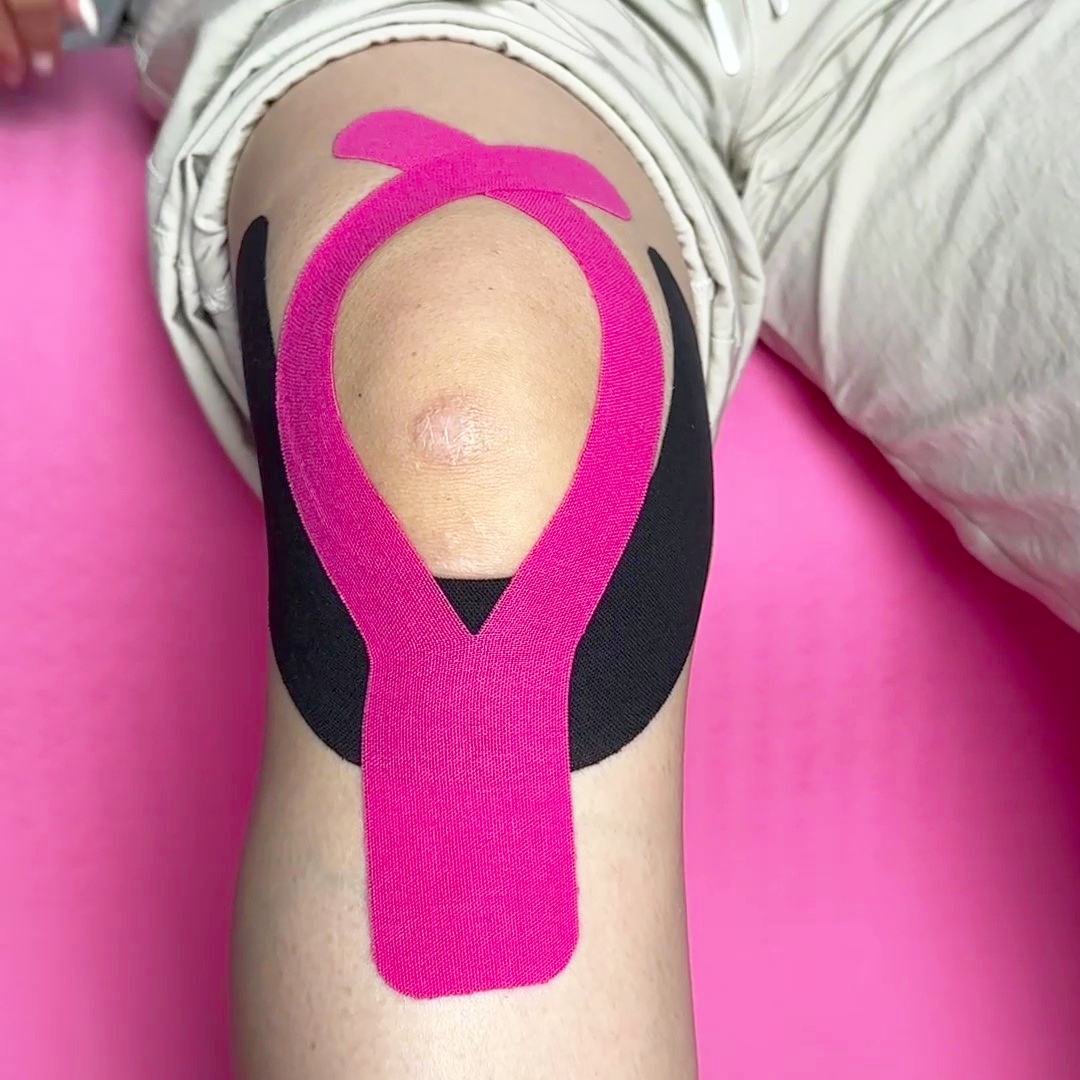
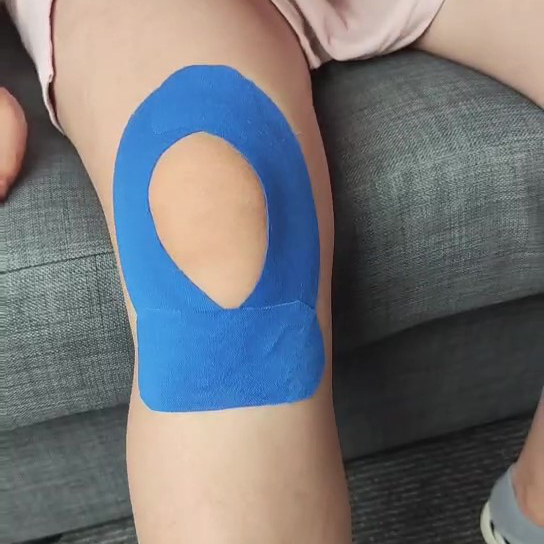
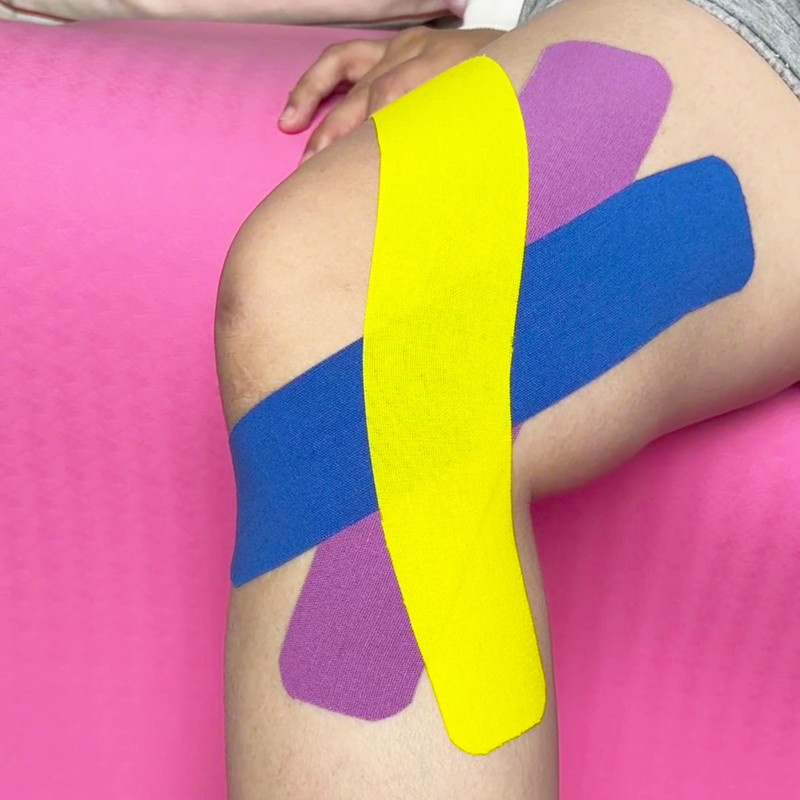
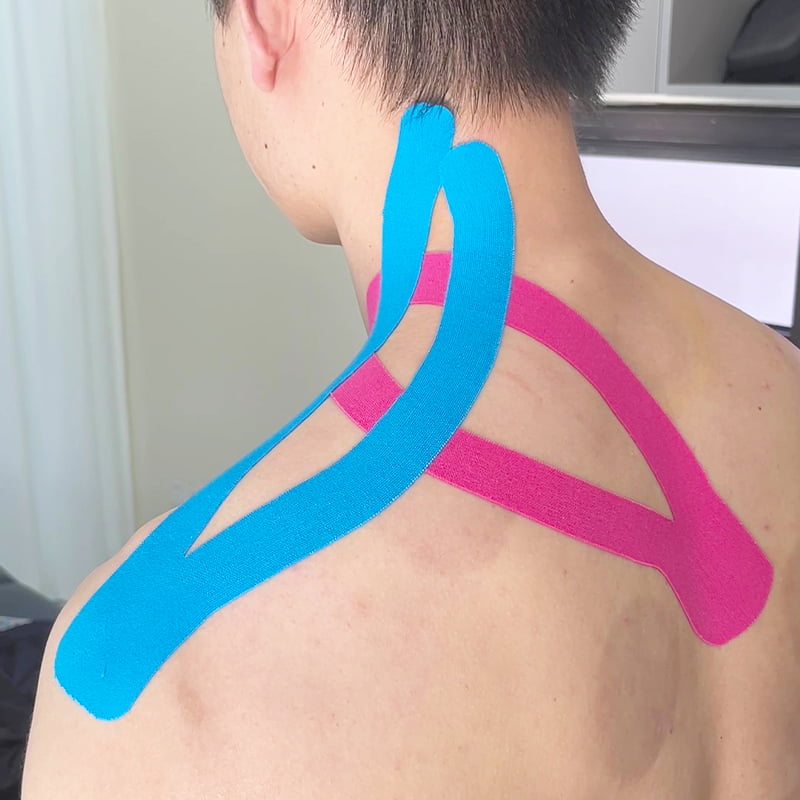
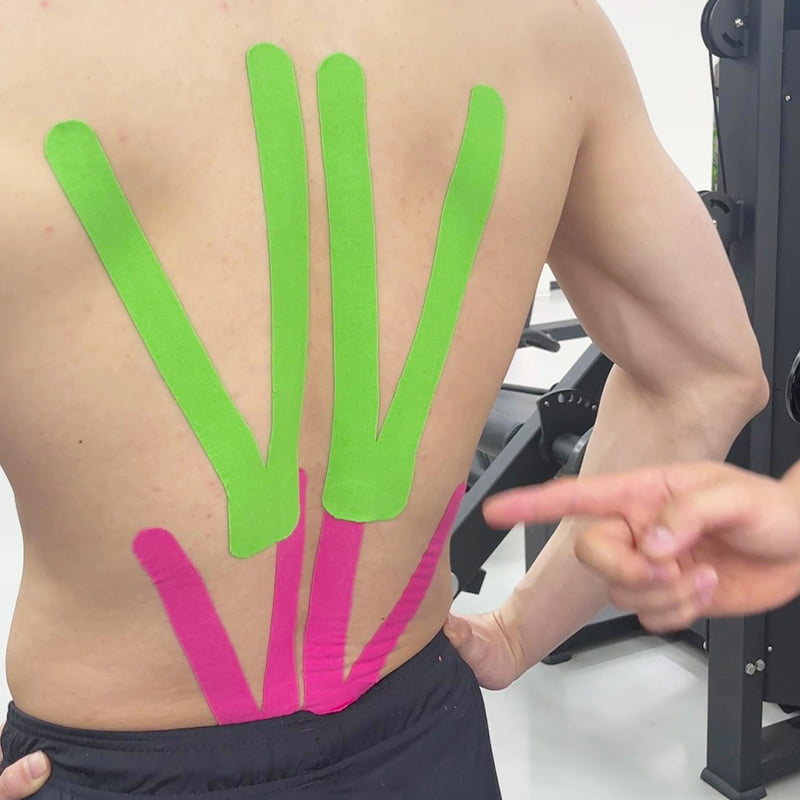
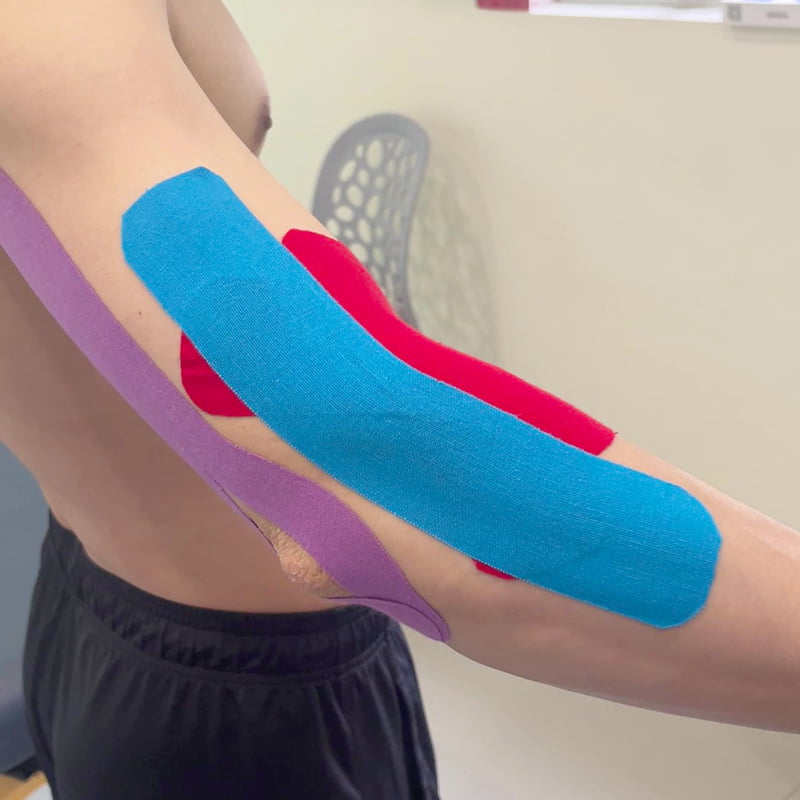
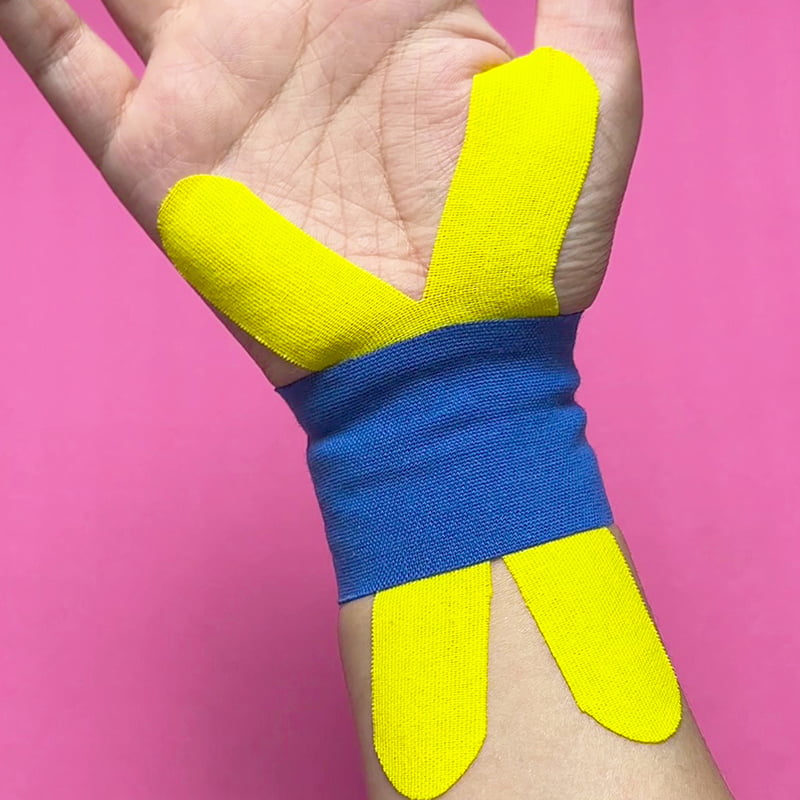
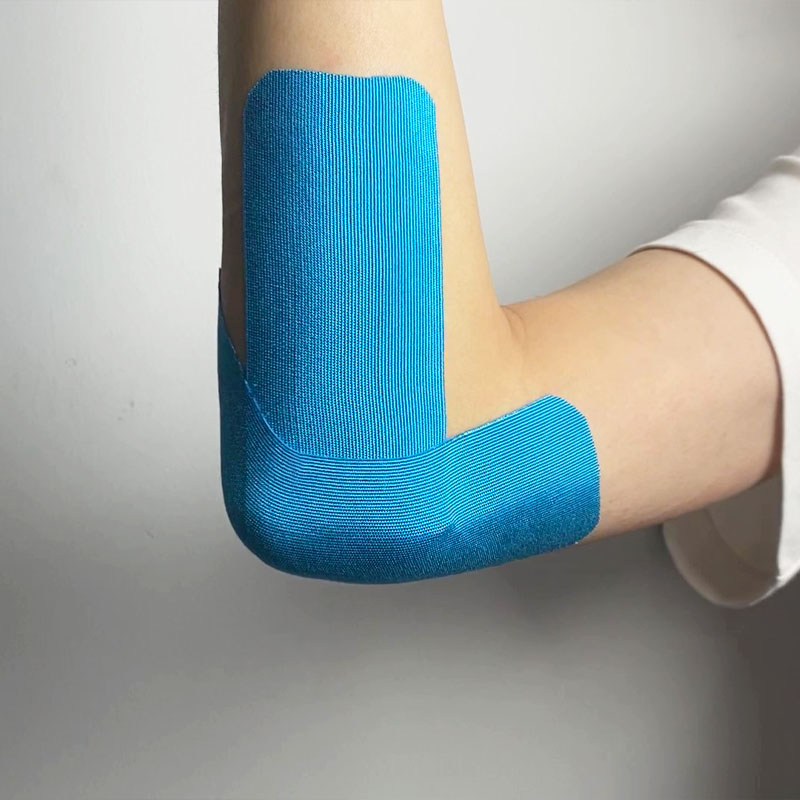
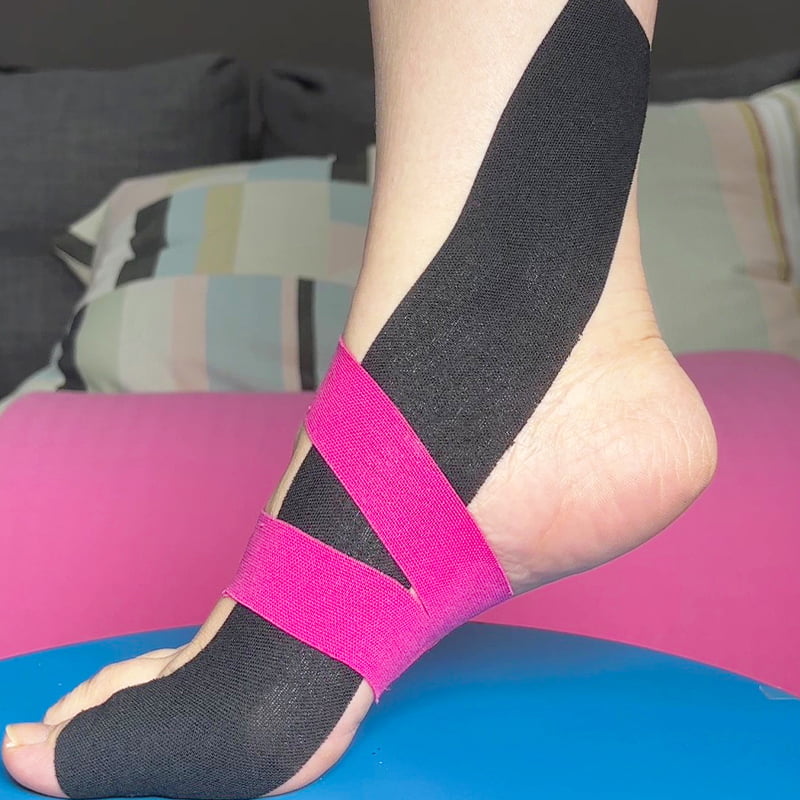
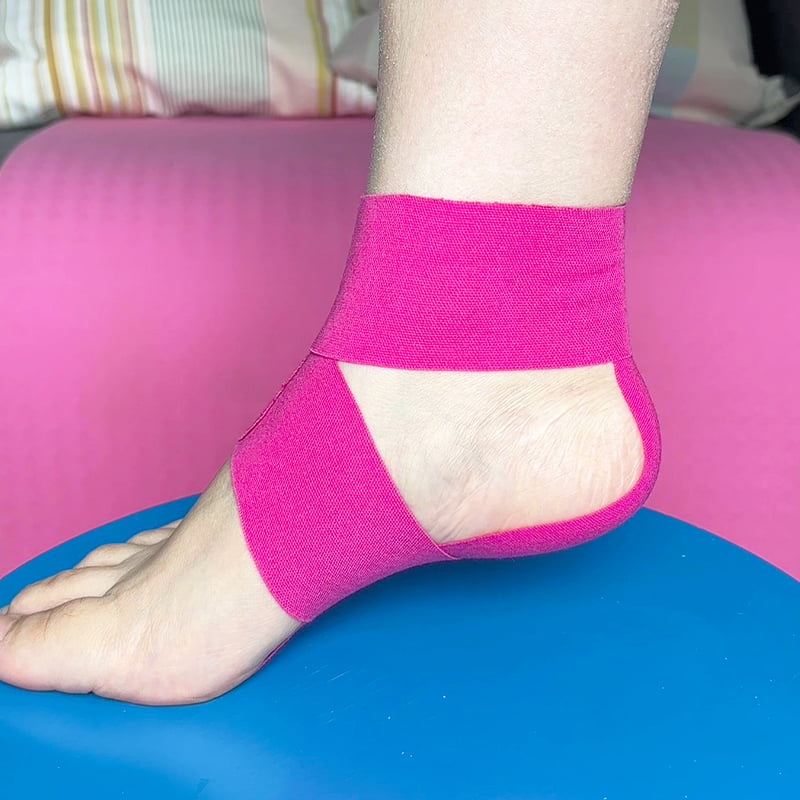
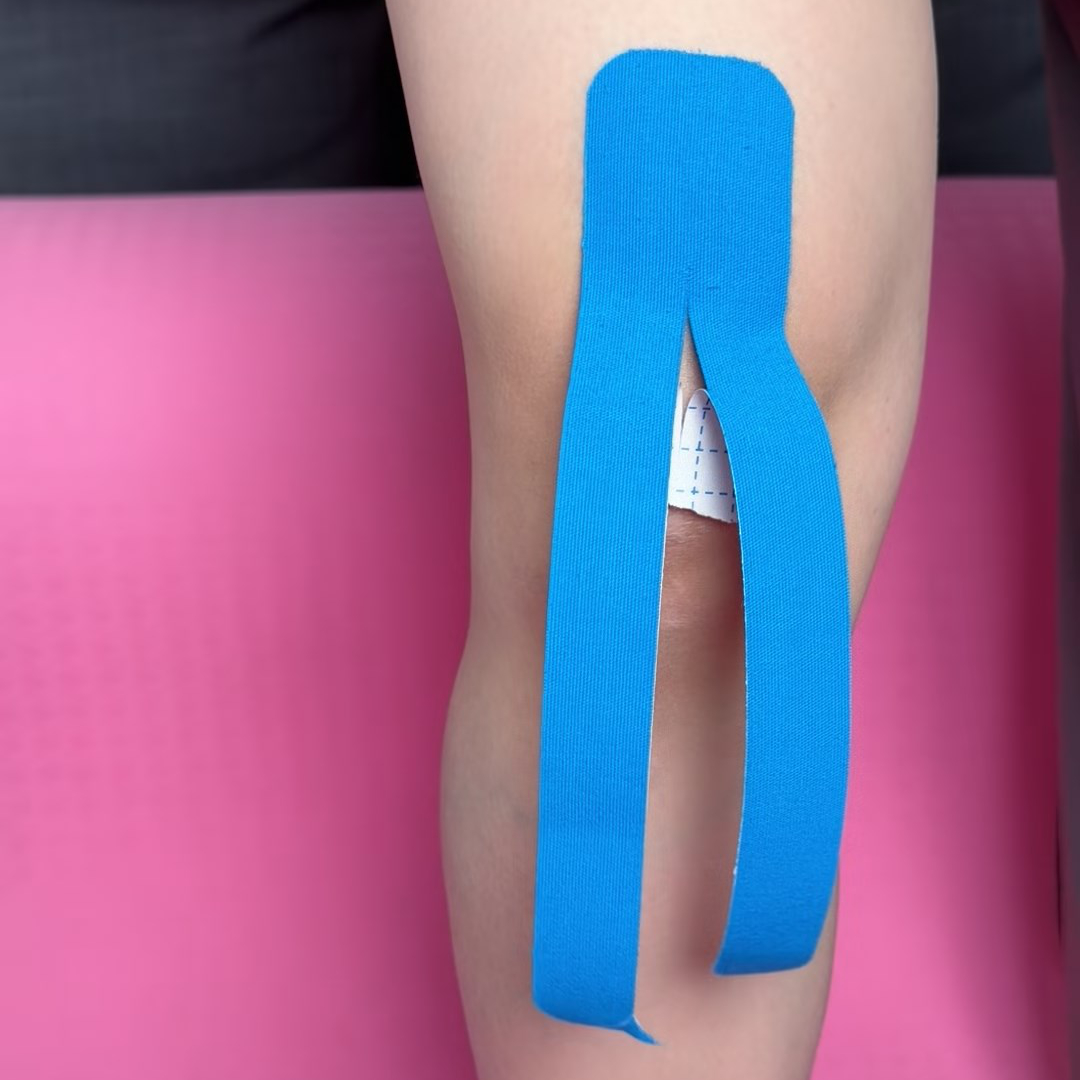
A common supportive method uses one vertical strip from the tibial tuberosity toward the lower thigh, plus an optional horizontal strip across the patellar tendon. Keep the tape ends unstretched and use light-to-moderate tension through the middle sections.
The vertical strip runs along the front of the knee from below the kneecap toward the lower thigh. The optional horizontal strip sits across the patellar tendon just below the kneecap.
You may be able to play while wearing tape, but it should not be used to push through worsening pain. If jumping and landing continue to aggravate your knee, reduce your training load and consider professional assessment.
Depending on the product and your skin, it may stay attached for several days. Remove it sooner if you develop itching, burning, redness, blistering, or other irritation.
Final Thoughts
For athletes dealing with jumper's knee (patellar tendinopathy), kinesiology tape can provide additional support during training while you work on recovery and gradually rebuild knee strength. Apply it comfortably around the patellar tendon, and don't use tape if pain worsens with jumping, running, or squatting.
For sports brands, distributors, and retailers, kinesiology tape for jumper's knee can also be developed around the needs of different sports and markets. Veefun offers customizable tape materials, widths, roll lengths, adhesive options, colors, and private-label packaging. If you're building a sports tape line or sourcing kinesiology tape for patellar tendon support, you can adjust specifications to suit your product positioning, sales channel, and target market.